

Aeration Windmill Setup Tutorial & Pro Building Tips
Step-by-Step Large Windmill Assembly Guide
Watch our complete setup guide to help you assemble your Outdoor Water Solutions Windmill. Note: This video features the Steel 3 Leg Windmill, but the core assembly process is virtually identical for our other Windmill models!

An aeration windmill is more than a stunning landscape feature—it is the heavy-duty engine keeping your pond ecosystem oxygenated, circulated, and safe for the fish. Because these systems are designed to harness the raw power of nature, proper assembly and strategic placement make all the difference.
Whether you are erecting a 3-leg or 4-leg tower, this guide provides the professional insights, structural tips, and plumbing strategies you need for a flawless installation.
Phase 1: Site Selection (Harnessing the Breeze)
Your windmill needs steady, unobstructed wind to maximize its capability to push compressed air down to your diffusers.
-
Elevate for Success: If possible, it's best to place the tower on a hill, ridge, or open area. Elevating the system even slightly can dramatically increase wind exposure. Picking a taller windmill tower will do this affect as well.
-
Clear the Obstacle Zone: Trees, barns, and structures create wind turbulence. As a general rule of thumb, try to place your windmill at least 50 to 100 feet away from tall obstructions.
-
Distance to the Pond: Don't sacrifice good wind just to place the tower right at the water’s edge. Our systems come with 100 feet of standard airline to go from your compressor, to your pond edge. Choose wind quality over proximity.
-
Do Not Open All Boxes at Once: Keep your tower extension boxes sealed until you need them. The pieces look nearly identical but are custom-sized for specific tiers. Mixing them up will stall your build.
-
Where is the Hardware? If you are looking for the master bolt package, it is safely packed inside the Blade and Tail Box, not the tower boxes.
-
Get it off the Ground: Do not build this flat on the dirt. Set up sawhorses or a picnic table to assemble the tower at waist level. It saves your back and keeps components perfectly aligned.
Phase 2: Anchoring & Tower Assembly
Building a solid foundation ensures your investment withstands high wind events and severe weather.
Pro Tip: Build Flat & Layer for Water-Shedding
Assemble the tower sections horizontally on sawhorses. As you work your way down the extensions, always make sure the upper leg piece overlaps the outside of the lower leg piece. This prevents rainwater from draining into the seams and trapping rust-inducing moisture.
The Cross-Brace Secret: Each section uses a pair of cross-braces where one brace is slightly shorter than the other. This is intentional! The shorter brace is where your adjustable eye-bolt tensioner attaches.
Tightening Order: Leave all nuts finger-tight during buildout. Once the entire tower is framed, use an impact wrench to tighten the corners first, then tighten the cross-brace eye-bolts last to pull all remaining structural slack out of the system.
Anchoring Options:
-
Dig 30 to 36-inch deep post holes centered precisely around each leg base.
-
Drive the 4-foot ground stake rods completely down through your leg stake clamps.
-
Level the tower perfectly.
-
Pour a minimum of two bags of Quikrete / concrete mixture per hole to lock the system down against severe weather.
-
The Lift: Raising the completed tower safely requires 3 to 4 people to keep the base from sliding, unless you utilize our custom OWS Hinge Kit.
Phase 3: The Head & Compressor Assembly
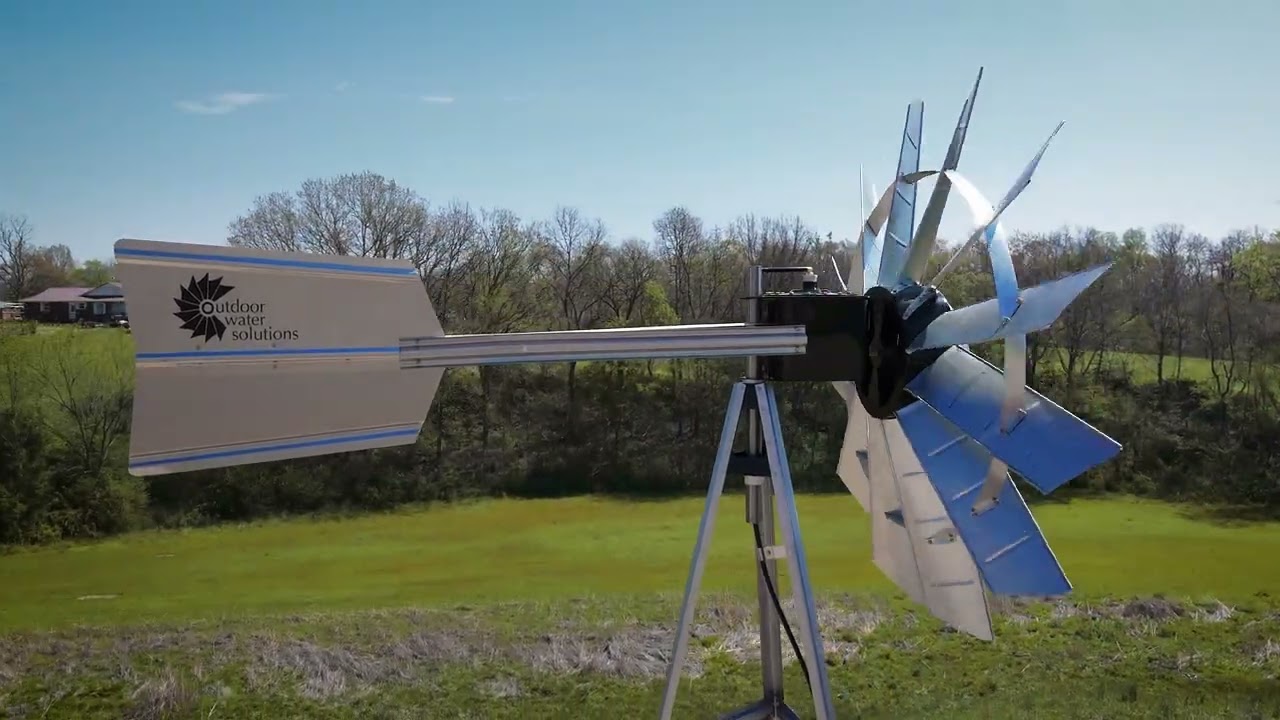
The head mechanism houses the fan blade assembly and the compressor—the mechanical heart of your aeration system.
Please see link here to see our interactive hotspot model.
-
Handle the compressor with Care: Your system features our heavy-duty BalCam II compressor. When installing the dual-diaphragm system, ensure the internal alignment is flush. A misaligned compressor causes premature wear and drops your air output.
-
Pre-Grease the Pivot Hub: Before lifting the head onto the tower mast, apply a premium marine-grade grease to the pivot pin. If you upgraded to the Pivot Bearing, ensure it sits completely flush to allow smooth 360-degree rotation in low-wind conditions.
-
The Bucket Assembly Trick: Place the one-piece rotor hub flat on top of an open utility bucket or tire with the large hole facing up. This allows the fan blades to float completely unrestricted while you loosely bolt them to the hub.
-
Calibrate Your Pitch: Once the blades and blade braces are loosely connected, flip the head assembly over and wiggle it. Let the blades naturally settle into a 10 to 15-degree upward pitch before torqueing them down. This precise angle maximizes your torque in low-wind conditions.
-
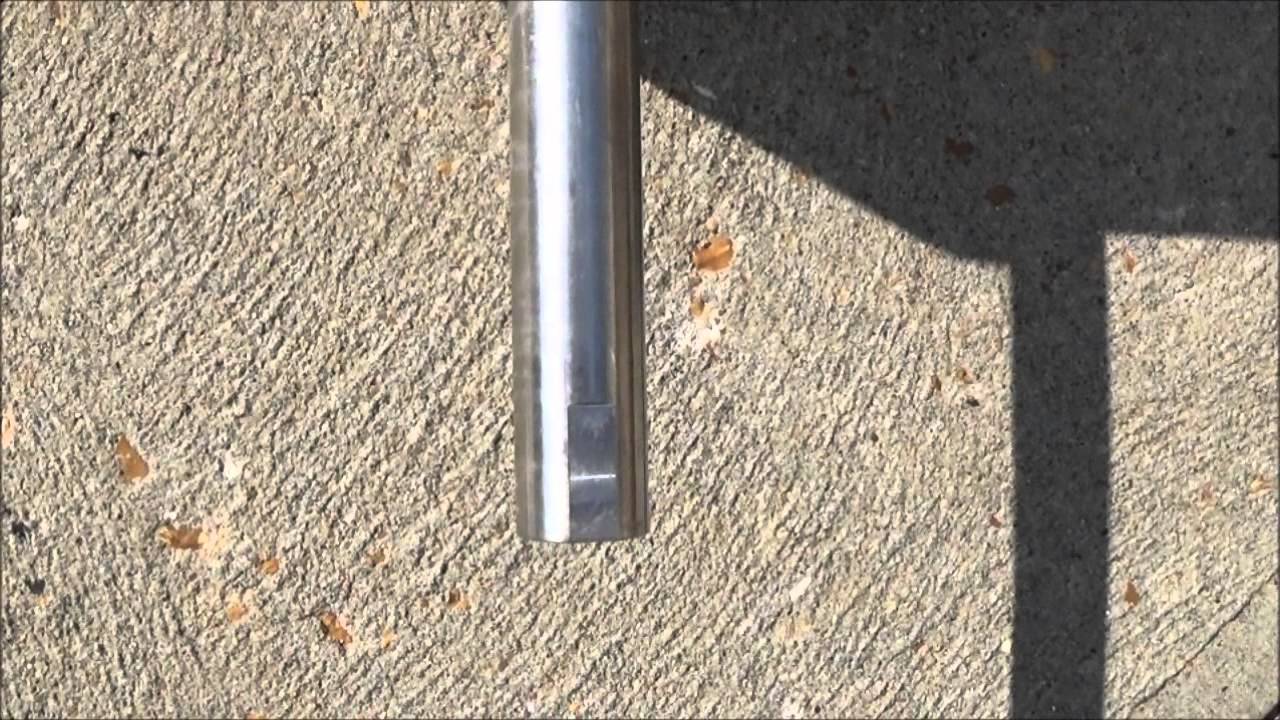
Locking the Mechanical Core: When sliding the compressor shaft into the hub, perfectly align the flat grooves on the shaft with the two internal hub set screws, and tighten securely. Clamp the large compressor U-bolt tightly to the pivot tube so the head cannot spin independently or slip downward during high-wind storms. Ensure the tail arm bolts face inward toward the compressor body when mounting the tail fin.
Phase 4: Plumbing & Diffuser Deployment
Once the tower is up, it’s time to connect the system to your water. Proper plumbing maximizes your circulation efficiency.
-
Locking the Swivel Line: Thread your 1/2-inch poly tubing up through the pivot tube and connect it to the compressor using the 90-degree brass barb elbow (needle-nose pliers make this easy). Zip-tie the line down a tower leg, and tighten the elongated hose bracket firmly around the line. This is critical: anchoring this bracket tightly forces the hose to safely twist on the brass barb elbow rather than kinking or snapping as the windmill head rotates 360 degrees.
-
The Mud-Protection Bucket Method: Never drop a bare air stone directly onto a soft pond floor—it will sink into organic muck and clog instantly. Always clamp your air stone to the line, then place it inside a bucket weighted down with 3 inches of gravel, stones, or concrete. This keeps your diffuser cleanly suspended just above the muck layer. Some of our kits will include buckets.
-
Track Your Tech: Tie a durable nylon rope from the weighted bucket handle up to a floating marker buoy on the surface. This ensures you can easily locate, pull up, and service your air stone down the road.
-
Switch to Weighted Airline at the Bank: Standard airline floats. Always transition to Weighted Airline before entering the water. Weighted line drops instantly to the pond floor, staying out of the way of boats, swimmers, and fishing lines.
-
Dual Diffuser Spacing: If you are running a two-diffuser system to manage a medium pond (up to 1.5 acres), place the diffusers in the deepest sections of the pond, spaced evenly apart. Splitting the air output avoids "dead zones".
Final Pre-Flight Checklist
Before you walk away and let the wind do the work, double-check these five settings:
-
All tower bolts are tightened securely (re-check them after the first two weeks of operation).
-
The tail fin is straight and securely pinned to the head frame.
-
The airline is buried or shielded where it leaves the tower base to protect it from lawnmowers.
-
A check valve is installed inline near the compressor to prevent water from siphoning back up the line.
-
Your diffusers are sitting flat on the pond bottom and aren't flipped upside down in the mud.


Quick Answers (Assembly FAQs):
+ What is the difference between building the 3 Leg & 4 Leg Windmills?
_
+ How do I ensure the tail tracks the wind properly?
When installing the tail arm, it is very important to ensure that one end butts up against the fan support shaft welded inside the head connection bracket. The other end must be flush with the back of the tail fin bracket. If this is not done correctly, the windmill may not track the wind properly.
+ What should I do if the windmill fan wobbles?
Each head is precision machined and balanced, but occasionally blades can bend slightly in transit. We recommend spinning the head once it is mounted. If you notice a wobble, simply bend the misaligned blades forward or backward by 1/4" to 1/2" to align them so they turn perfectly straight.
Love upgrading your outdoor space? Join over 19,000 active subscribers by signing up for our newsletter to get more homesteading projects, product updates, and expert pond management advice directly to your inbox!